
At some point, every developer needs to send email from their application — welcome messages, password resets, 2FA codes, transactional receipts, and more. Resend is an email service provider built for exactly this, and in my experience, it’s one of the more straightforward integrations out there.
Why ports matter
Most email providers expect you to send via SMTP on port 25, 465, or 587:
- 25 — the original SMTP port, traditionally unencrypted and mostly used for server-to-server mail relay
- 465 — SMTPS, encrypted from the start via SSL/TLS
- 587 — the modern standard for client submission, using STARTTLS to upgrade an initially plain connection to an encrypted one
The problem is that many cloud providers block outbound traffic on port 25 by default, and sometimes 465/587 too. This is mainly to curb spam and abuse — port 25 in particular is a favorite for botnets sending unsolicited mail, so providers restrict it to cut down on their IP ranges getting blacklisted.
Resend gets around this by offering fallback ports — 2465 and 2587 — mirroring the encrypted options above, so you’re not stuck if the standard ones are unavailable on your server or network.
Testing it on a real server
To see this in action, I’ll be setting up a VM on RumptyCloud and testing email delivery with both Python and Node.js.
If you don’t already have a VM running, start with this guide on setting up and SSHing into a RumptyCloud VM — I’ll pick up from where that leaves off.
Prerequisites
- Python 3.8+ —
smtplibandemailare both part of the standard library, so no extra packages are needed for the Python script. - Node.js 18+ — the script below uses
nodemailer, which isn’t bundled with Node, so you’ll need to install it first. - Resend API keys — the API key will be used as your login credentials when sending out emails
To get your credentials, you can go to the API keys menu as shown below:
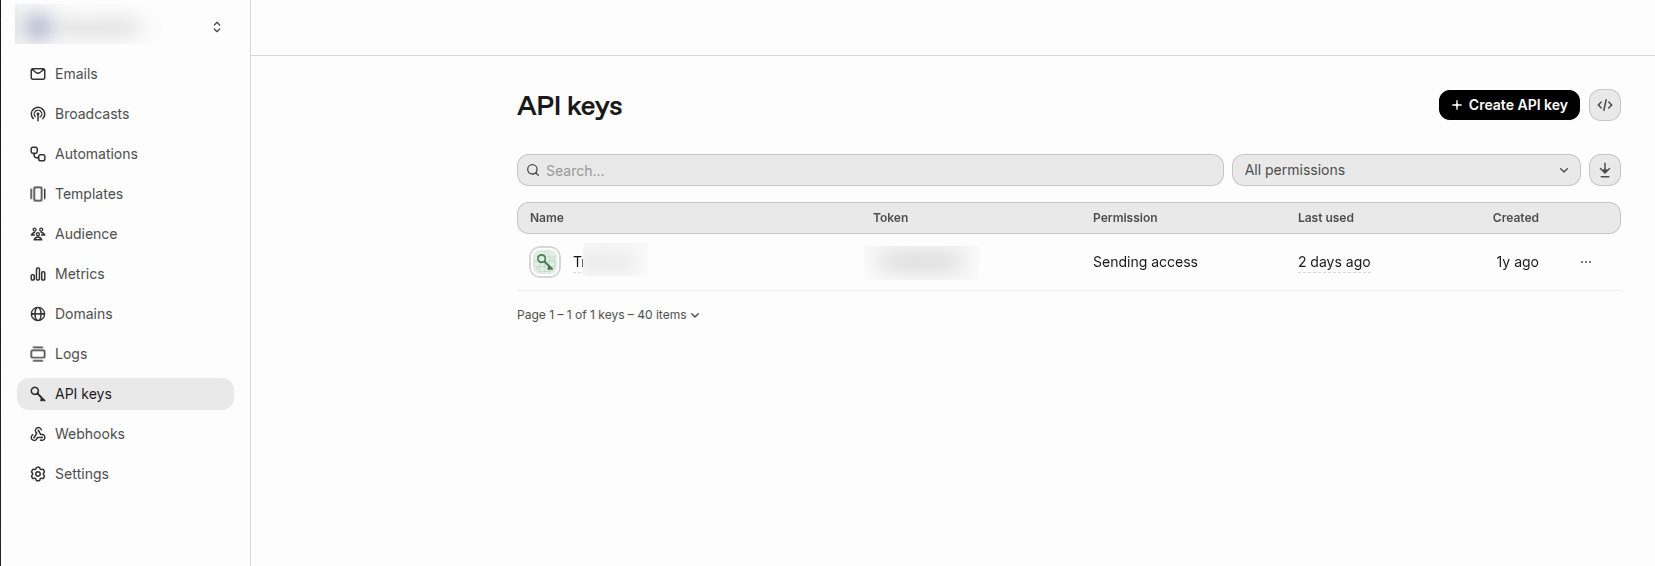 Make sure it has “Sending access.”
Next, check what you’ve got on your VM:
python3 --versionnode --versionIf Node.js isn’t installed yet, grab it via your distro’s package manager or nvm. Once you’re on Node 18+, install the mail package:
npm install nodemailerPython needs nothing extra — smtplib ships with every standard install, so you can jump straight to running the script.
import smtplib

from email.mime.text import MIMEText
from email.mime.multipart import MIMEMultipart

# --- CONFIGURATION ---
SMTP_SERVER = "smtp.resend.com"  # Replace with your SMTP host
SMTP_PORT = 2465 # Use 587 for TLS, 465 for SSL
SENDER_EMAIL = "blog@rumptycloud.com"
SENDER_USERNAME = "resend"
SENDER_PASSWORD = "<API_KEY>"
RECIPIENT_EMAIL = "adedapo@rumptycloud.com"

# --- CREATE MESSAGE ---
msg = MIMEMultipart()
msg['From'] = SENDER_EMAIL
msg['To'] = RECIPIENT_EMAIL
msg['Subject'] = "Testing SMTP Connection on RumptyCloud VM server"
msg.attach(MIMEText("Hello from RumptyCloud! Configuration perfect.", 'plain'))

# --- SEND EMAIL ---
try:
    print(f"Connecting to {SMTP_SERVER} on port {SMTP_PORT}...")

    # 1. Initialize the connection
    # Note: If using port 465, change 'smtplib.SMTP' to 'smtplib.SMTP_SSL'
    server = smtplib.SMTP_SSL(SMTP_SERVER, SMTP_PORT, timeout=10)

    print("Logging in...")
    # 3. Authenticate
    server.login(SENDER_USERNAME, SENDER_PASSWORD)

    print("Sending mail...")
    # 4. Send
    server.sendmail(SENDER_EMAIL, RECIPIENT_EMAIL, msg.as_string())
    print("✅ Success! Email sent successfully.")

except smtplib.SMTPConnectError:
    print("❌ Connection Refused: The server couldn't be reached. Check your host, port, or server firewall.")
except smtplib.SMTPAuthenticationError:
    print("❌ Authentication Error: Username or password/App password is incorrect.")
except Exception as e:
    print(f"❌ An error occurred: {e}")
finally:
    try:
        server.quit()
    except:
        pass
import nodemailer from "nodemailer";
// --- CONFIGURATION ---
const SMTP_SERVER = "smtp.resend.com"; // Replace with your SMTP host
const SMTP_PORT = 2465; // Use 587 for TLS, 465 for SSL
const SENDER_EMAIL = "blog@rumptycloud.com";
const SENDER_USERNAME = "resend";
const SENDER_PASSWORD = "<API_KEY>";
const RECIPIENT_EMAIL = "adedapo@rumptycloud.com";
// --- CREATE TRANSPORTER ---
// Note: secure: true is required for SSL ports (465, 2465).
// For TLS ports (587, 2587), set secure: false — nodemailer will upgrade via STARTTLS automatically.
const transporter = nodemailer.createTransport({
host: SMTP_SERVER,
port: SMTP_PORT,
secure: true,
auth: {
user: SENDER_USERNAME,
pass: SENDER_PASSWORD,
},
connectionTimeout: 10000,
});
// --- SEND EMAIL ---
async function sendMail() {
try {
console.log(`Connecting to ${SMTP_SERVER} on port ${SMTP_PORT}...`);
console.log("Sending mail...");
const info = await transporter.sendMail({
from: SENDER_EMAIL,
to: RECIPIENT_EMAIL,
subject: "Testing SMTP Connection on RumptyCloud VM server",
text: "Hello from RumptyCloud! Configuration perfect.",
});
console.log("✅ Success! Email sent successfully.");
console.log("Message ID:", info.messageId);
} catch (err) {
if (err.code === "ECONNREFUSED" || err.code === "ETIMEDOUT") {
console.error("❌ Connection Refused: The server couldn't be reached. Check your host, port, or server firewall.");
} else if (err.responseCode === 535) {
console.error("❌ Authentication Error: Username or password/App password is incorrect.");
} else {
console.error(`❌ An error occurred: ${err.message}`);
}
}
}
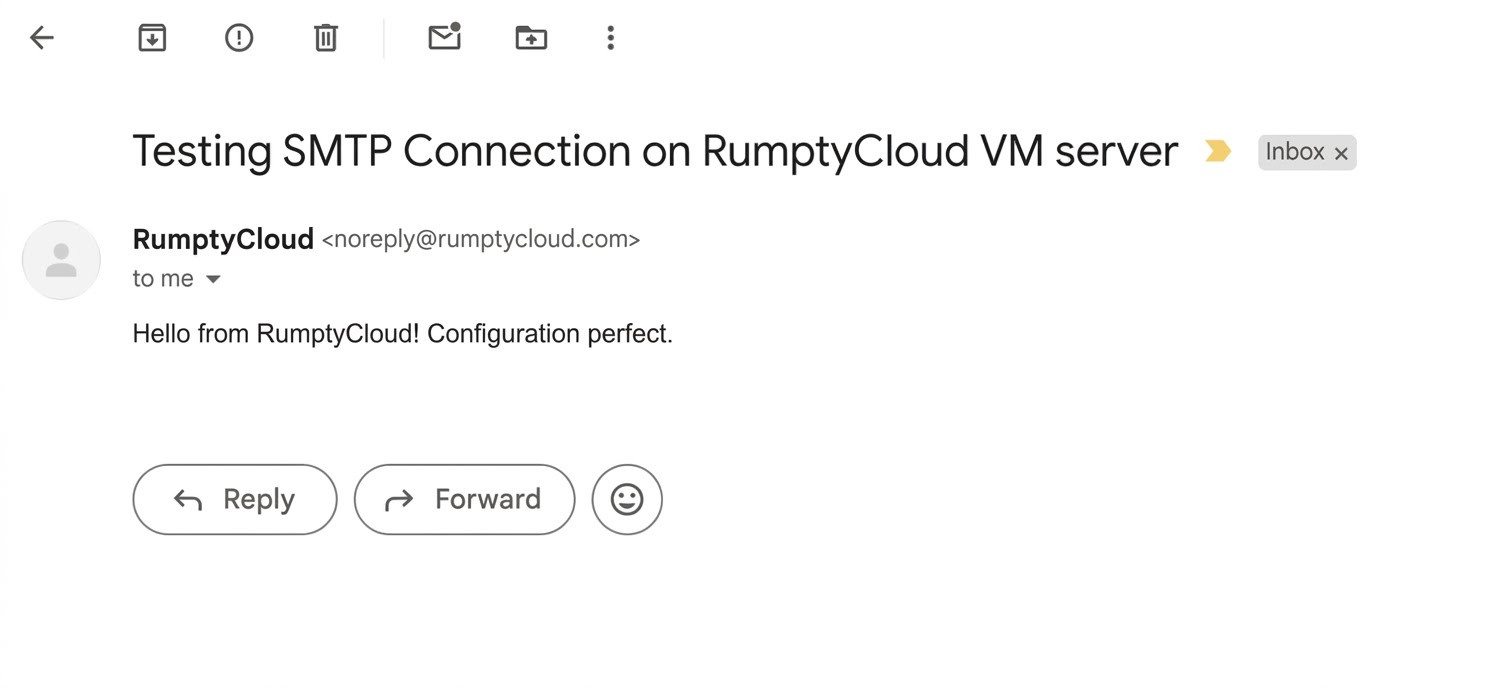
sendMail();As shown below, a success email received 🎉.
Wrapping up
That’s really all there is to it — once you’ve got your VM provisioned and your Resend API key in hand, sending mail over SMTP is just a matter of pointing your script at the right host and port. If your network or provider blocks the standard ports, remember Resend’s fallback ports (2465, 2587) are there so a firewall rule doesn’t have to be a dead end.
From here, you could take this further — swap the plain text body for HTML, add attachments, or wire this into an actual application flow like a signup confirmation or password reset. The core connection logic stays the same either way.
If you run into connection or authentication errors, don’t skip the fallback ports and the SSL/TLS flag — mismatching those two is the most common reason a script that looks correct still won’t connect.
Got questions or something not working? Drop by our Discord and I’ll be happy to help.